https://linuxconfig.org/how-to-install-and-secure-mariadb-on-ubuntu-24-04
Author: Timo
-
Yet another how to run WordPress with Docker tutorial
There are already a lot of tutorials on how to run a WordPress blog from a Docker image. This one is more of the same and yet a little different.
The usual approach includes a full stack containing WordPress as well as a database (e.g., MySQL, MariaDB, Postgres, etc.). However, since I was planning on using the datbase for more than just WordPress, i thought it might be prudent to run an instance of MariaDB on the host rather than spin up a database in each container.
That being said, here’s the
docker-compose.ymlfile I’m using to spin up my blog.services: wordpress: image: wordpress:6.5.3-apache container_name: mtnr-wordpress restart: always ports: - 8001:80 env_file: - .env environment: WORDPRESS_DB_HOST: host.docker.internal:3306 WORDPRESS_DB_USER: $MYSQL_USER WORDPRESS_DB_PASSWORD: $MYSQL_PASSWORD WORDPRESS_DB_NAME: mtnr WORDPRESS_CONFIG_EXTRA: | define( 'WP_REDIS_HOST', 'mtnr-redis' ); volumes: - wordpress:/var/www/html extra_hosts: - host.docker.internal:host-gateway database-relay: image: alpine/socat:1.8.0.0 container_name: mtnr-database-relay network_mode: host command: TCP-LISTEN:3306,fork,bind=host.docker.internal TCP-CONNECT:127.0.0.1:3306 extra_hosts: - host.docker.internal:host-gateway redis: image: redis:7.2.5 container_name: mtnr-redis restart: always volumes: wordpress:A few things worth mentioning here. For starters, all three services make use of a dedicated version in favor of latest in order to avoid any breaking changes when restarting the service. Let’s look at each service in a little bit more detail.
Starting from the top with the WordPress service.
Sensitive data such as
$MYSQL_USERand$MYSQL_PASSWORDwill be provided as environment variables via an.envfile stored in the same location as thedocker-compose.ymlfile.WORDPRESS_DB_HOSTpoints tohost.docker.internal. The URL is provided as an extra host matching the host gateway. Since the database on the host listens to127.0.0.1, simply adding the host gateway alone won’t solve our problem of connecting to the host database.This is where socat comes into play.
You can read about this in detail here: https://dev.to/mjnaderi/accessing-host-services-from-docker-containers-1a97.
I added redis for object caching, too. This seems pretty straight forward. However, on order for WordPress, or rather a redis object cache plugin recognize the redis container, we must add the container name to WordPress’ config via adding the
WP_REDIS_HOSTvariable to theWORDPRESS_CONFIG_EXTRAenvironmen variable.All WordPress files will be stored in a volume called wordpress, which about sums it up.
All there is left to do is to start up the containers (-d as in detached).
sudo docker compose up -dFurther reading:
- https://www.digitalocean.com/community/tutorials/how-to-install-wordpress-with-docker-compose
- https://devtidbits.com/2019/11/02/customise-wordpress-on-docker/
- https://riteshkhanna.com/2021/11/17/wordpress-using-awsdockerredis/
- https://stackoverflow.com/questions/75794951/apache2-as-proxy-to-a-docker-container-and-https-and-php-rewriting-http-to-http
-
Roll Your Own Network
One stop shop for rolling your own network. You’ll find tutorials on how to run a network, server, desktop, mobile, and manage certificates and backups.
It’s a work in progress according to themselves, but definitely worthwhile checking it out!
-
Better backups with BorgBase
I recently posted an article on how I used rsnapshot for backing up this blog. This worked fine but I was having two major issues with the approach.
1. Backing up the database’s internal file storage
Generally speaking, it’s bad practice to backup a database’s internal file storage as it could change mid-backup. A better approach would be to create a database dump which will result in a consistent snapshot.
2. Backing up volumes in archives
With the current approach of creating compressed tars of the Docker volumes, each time a full backup will be created. This uses up more space than necessary.
Borg to the rescue
Borg is an easy to use deduplicating archiver that comes with compression and encryption out of the box.
You can find a detailed manual and more info at https://www.borgbackup.org/.
Since I have to backup protected resources, I installed it with privileged access.
sudo apt update
sudo apt install borgbackup
At the time of writing this you may find the installation instructions under https://borgbackup.readthedocs.io/en/1.2.8/installation.html.
At this point we could go ahead and set up a (remote) repository and start backing up our data which would result in smaller backups than the previously used tar archives.
However, we still need a way to automatically backup the database as well as a convenient way to automate or backups.
Automate backups with Borgmatic
Borgmatic also comes with an exhaustive documentation that can be found at https://torsion.org/borgmatic/docs/how-to/set-up-backups/.
I’ve opted for a root install using
apt.sudo apt update sudo apt install borgmaticNow that we have installed Borgmatic, let’s create a config file in
/etc/borgmatic/config.yaml.sudo borgmatic config generateNow, before editing the configuration file to our needs, let’s set up a remote repository with BorgBase first.
Remote backups with BorgBase
Sign up and receive 10 GB and 2 repositories for free forever. No credit card required. Just a place to keep your backups.
After setting up your free account it looks sth. like this.
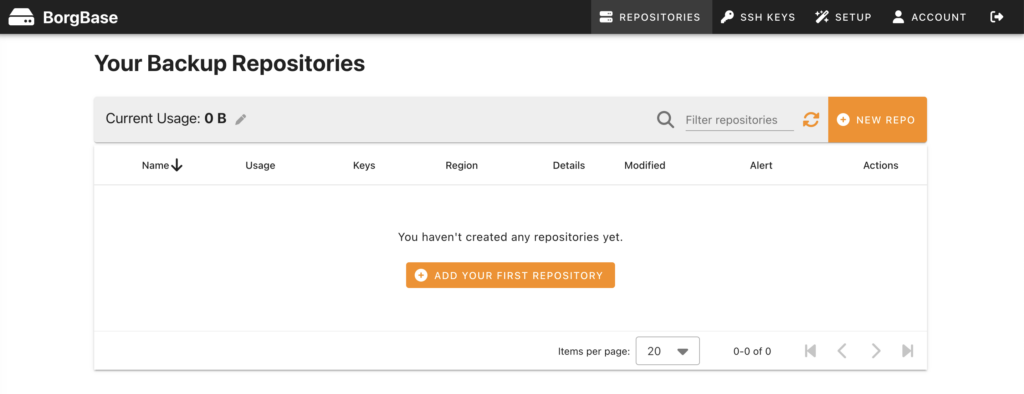
Before you may add a repository, you have to add a ssh key, first. BorgBase makes it very easy to add a key and guides you all the way. Here’s how I created my key.
ssh-keygen -t ed25519 -C "<EMAIL>" -f ~/.ssh/id_ed25519_borgbasePlease replace
<EMAIL>with your own mail address. The above will generate a new key and place it under .sshin your home folder under the name ofid_ed25519_borgbase. In addition it will generate a corresponding public key. This is what you must provide BorgBase with in order to create and access a repository. Type the following to access it from your terminal:cat ~/.ssh/id_ed25519_borgbase.pubAfter setting up your repository you will be presented with a wizard to set up your server for communicating with it.
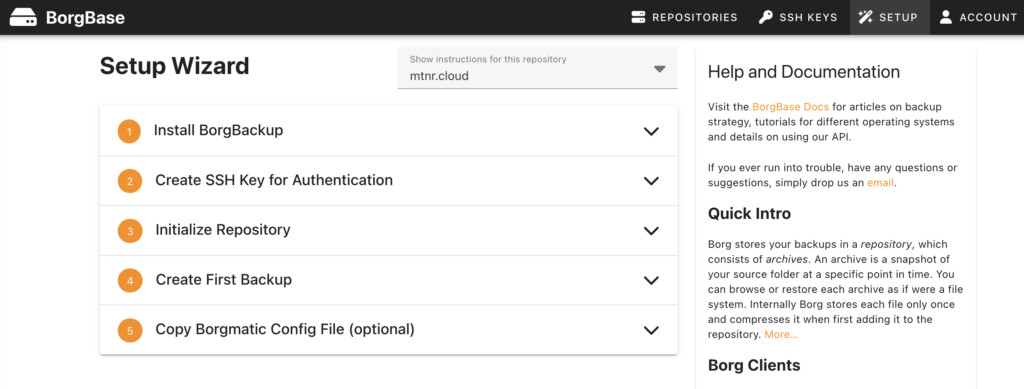
Now it’s time to edit the borgmatic config file from earlier. It’s pretty self explanitory.
I’m including everything under /etc, my home folder as well as the Docker volume for this blog.
source_directories:
  - /etc
  - /home/<USER>
  - /var/lib/docker/volumes/<VOLUME_NAME>
There is a detailed explanation on how to include database dumps in your backups available at https://torsion.org/borgmatic/docs/how-to/backup-your-databases/.
I added the following snippet to my config.
mariadb_databases:
  - name: <DB_NAME>
    hostname: 127.0.0.1
    port: 3306
    username: <USER>
    password: <PASSWORD>
After your done, you may validate your config with the following command.
sudo borgmatic config validateThe last thing to do is initializing the repository.
sudo borgmatic init --encryption repokeyTest your setup
Before editing your crontab, it makes sense to test your setup manually.
sudo borgmatic create --verbosity 1 --list --statsIf everything works as expected, you should add a call to
borgmaticto the root user’s crontab.sudo crontab -eConclusion
And now you can lie back and relax. Depending on your crontab settings your incremental backups will be created automatically and will be securely encrypted stored off site.
Nice!
-
Get your backups to safety with rsnapshot
In this article we learned how to backup Docker volumes. However, storing them on the same machine won’t do us any good should, for example, the harddrive fail.
rsnapshot to the rescue.
I run rsnsapshot as a Docker container from my home server and have set up a ssh source in the rsnapshot config file which I fetch on a regular basis via the following cron job:
docker exec rsnapshot rsnapshot alphaThat’s it.
-
How to backup your Docker volumes
I’m running this blog from a Docker container behind a reverse proxy.
That being said, I’m using volumes to persist my container data. Backing these up requires a bit more work than simply copying files from a to b.
Backup commands using temporary containers
In order to create a backup from a volume, I’m using the following command:
sudo docker run --rm \
  --volumes-from <CONTAINER_NAME> \
  -v ~/backups:/backups \
  ubuntu \
  tar cvzf /backups/backup.tar.gz /var/www/html
That might be alot. Let’s break it down.
sudo docker runwill start a new container as root. In this case from theubuntuimage (i.e., the image name provided in line 4).- --volumes-from will mount all volumes from the given container name. Of course, you’ll have to replace the placeholder with the name of your container.
- -v ~/backups:/backups will mount the backups folder located in your home directory to a /backups folder in the container we’re starting. We will use this to store the backups we’re about to create.
- ubuntu being the image we’re using to start our disposable backup container.
- Finally there is the actual command to backup the files we want from the WordPress container which are available from the /var/www/html directory. We tar (create an archive containing all files from the given directory) and zip (compress) them with tar cvzf /backups/backup.tar.gz /var/www/html (create verbose zip file).
Once we execute the command all the files from the /var/www/html directory from within our WordPress container will end up in ~/backups/backup.tar.gz and the backup container we just fired will be removed automatically once the tar command has finished.
I will issue a second command just like the above to backup the corresponding MySQL database container.
sudo docker run --rm \
  --volumes-from <CONTAINER_NAME> \
  -v ~/backups:/backups \
  ubuntu \
  tar cvzf /backups/backup-db.tar.gz /var/lib/mysql
We’ve created two zip files in our backup folder. One for the files and one for the database of our WordPress instance.
Let’s build on that.
Automating your backups
Since it would be a bit tedious to fully type out the same commands each time we want to backup our data, let’s automate the process.
As a first step I add all the backup commands for the volumes I want to backup into a script.
#!/bin/bash
docker run --rm \
  --volumes-from <CONTAINER_NAME> \
  -v ~/backups:/backups \
  ubuntu \
  tar cvzf /backups/backup.tar.gz /var/www/html

docker run --rm \
  --volumes-from <CONTAINER_NAME> \
  -v ~/backups:/backups \
  ubuntu \
  tar cvzf /backups/backup-db.tar.gz /var/lib/mysql
If I run that script as the non-root user, I’ll run into the following error.
docker: permission denied while trying to connect to the Docker daemon socket at unix:///var/run/docker.sock: Head "http://%2Fvar%2Frun%2Fdocker.sock/_ping": dial unix /var/run/docker.sock: connect: permission denied.What’s going on? Well, as you may have noticed, I omitted the sudo command from the docker commands because I plan to call this script from a cron job where I won’t be able to input my password. However the docker command needs root access since Docker is not a rootless installation in this instance.
Let’s tie it all together and add the script to the root user’s cron jobs.
sudo crontab -eAssuming your script resides in a script folder below your home folder, add the following and save.
0 1 * * * ~/scripts/backup.shThis will execute the script with root privileges each night at 1 o’clock in the night.
However, the backup files will belong to the root user. Let’s remedy that.
File permissions
Add the following line to your backup script at the end.
chown $(id -u -n):$(id -g -n) ~/backups/*This will assign ownership and group of all backups to your user.
Summary
We’ve automated daily backups of our Docker volumes using shell scripts and cron jobs. Neat. Let me know what you think.
Oh, and please check these articles for further reading:
-
How to set the timezone in Ubuntu
You may list all available timezones via the following command:
timedatectl list-timezonesTo update the timezone of your machine use
sudo timedatectl set-timezone Europe/BerlinAfter this the current settings can be inspected like so:
timedatectl
               Local time: Sat 2024-06-01 12:46:55 CEST
           Universal time: Sat 2024-06-01 10:46:55 UTC
                 RTC time: Sat 2024-06-01 10:46:55
                Time zone: Europe/Berlin (CEST, +0200)
System clock synchronized: yes
              NTP service: active
          RTC in local TZ: no
Have a look at https://www.digitalocean.com/community/tutorials/how-to-set-up-time-synchronization-on-ubuntu-20-04 for a more detailled explanation.
-
Adding an administrative account in Ubuntu
If, for some reason, no default administrative user was created during the server installation process, the first thing I do is to create a personal user and deactivate the root user, if necessary.
Usually, a pristine Ubuntu installation comes with a default user that was added to the group of sudoers.
However, when acquring a server with my current hoster, root was equipped with a public key for accessing the server via SSH after the setup was completed.
So the first order of business after logging in as root was to create a new user as follows:
adduser <USERNAME>Replace
<USERNAME>with the name of the user (i.e., in my casetimo) and follow the onscreen instructions.In order to enable the user to install software and allow for other maintanance tasks, add it to the group of sudoers with the following command as root:
usermod -aG sudo <USERNAME>When you are already logged on as another sudo user, you may issue the same command prefixed with sudo.
And that’s all there is to it. Now you can login with your new account and use the
sudocommand when you must perform maintance or other administrative tasks like installing software for example.For more details on usermanagement (e.g., how to disable the root user) I highly reccomend the official documentation on the matter.
-
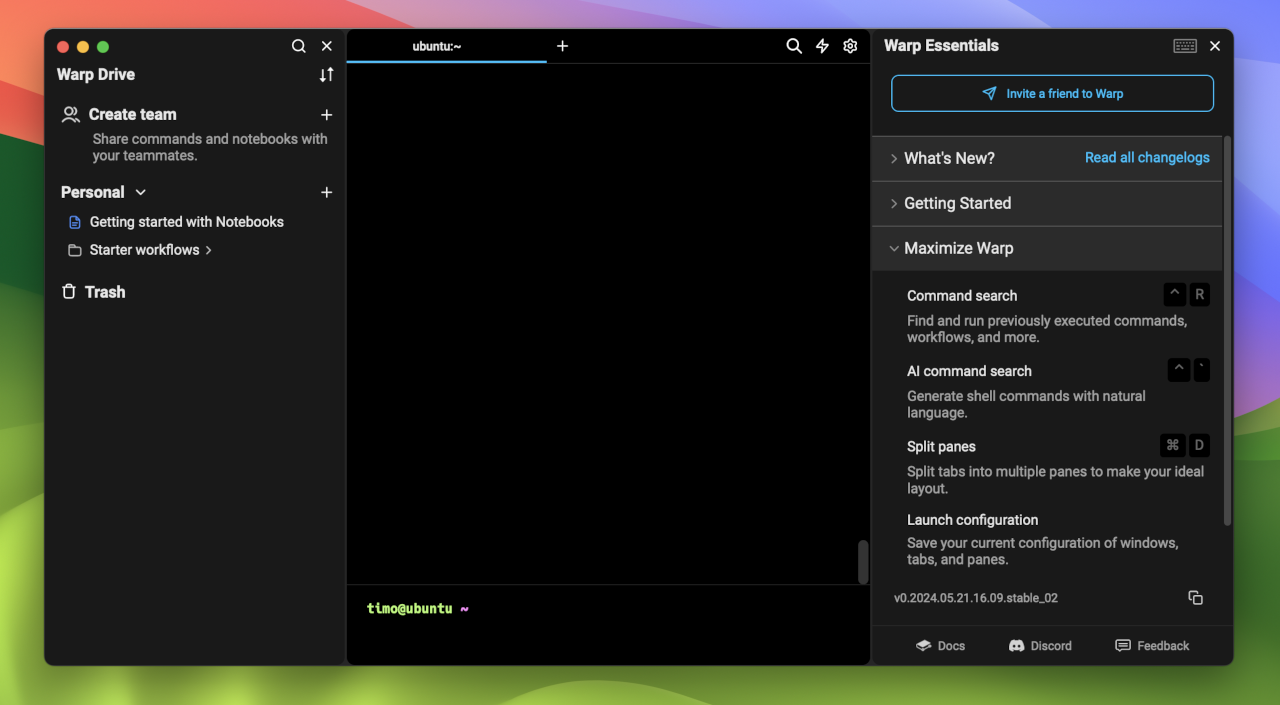
Warp: The terminal I didn’t know I needed
Quick reminder to myself to never use another terminal other than Warp again. Check it out here.
-
Hello world!
If you were wondering why the hell anybody would start a blog in 2024, you’re witnessing the fruits of boredom.
Who doesn’t know the feeling after long hours slaying away at work, thinking “I need me some more of that!”?
So naturally, I ordered a server, installed an operating system, a firewall, a web server, a containerized WordPress, configured SSL and routed everything through a reverse proxy.
I mean, who wouldn’t, right?
Anyways, I’ll probably be posting most about tech and fast food. Because, why not?
Thanks for stoping by.