mtnr

A tech blog with fries on the side

Tag: backups

  • Better backups with BorgBase

    I recently posted an article on how I used rsnapshot for backing up this blog. This worked fine but I was having two major issues with the approach.

    1. Backing up the database’s internal file storage

    Generally speaking, it’s bad practice to backup a database’s internal file storage as it could change mid-backup. A better approach would be to create a database dump which will result in a consistent snapshot.

    2. Backing up volumes in archives

    With the current approach of creating compressed tars of the Docker volumes, each time a full backup will be created. This uses up more space than necessary.

    Borg to the rescue

    Borg is an easy to use deduplicating archiver that comes with compression and encryption out of the box.

    You can find a detailed manual and more info at https://www.borgbackup.org/.

    Since I have to backup protected resources, I installed it with privileged access.

    sudo apt update
    sudo apt install borgbackup

    At the time of writing this you may find the installation instructions under https://borgbackup.readthedocs.io/en/1.2.8/installation.html.

    At this point we could go ahead and set up a (remote) repository and start backing up our data which would result in smaller backups than the previously used tar archives.

    However, we still need a way to automatically backup the database as well as a convenient way to automate or backups.

    Automate backups with Borgmatic

    Borgmatic also comes with an exhaustive documentation that can be found at https://torsion.org/borgmatic/docs/how-to/set-up-backups/.

    I’ve opted for a root install using apt.

    sudo apt update
    sudo apt install borgmatic

    Now that we have installed Borgmatic, let’s create a config file in /etc/borgmatic/config.yaml.

    sudo borgmatic config generate

    Now, before editing the configuration file to our needs, let’s set up a remote repository with BorgBase first.

    Remote backups with BorgBase

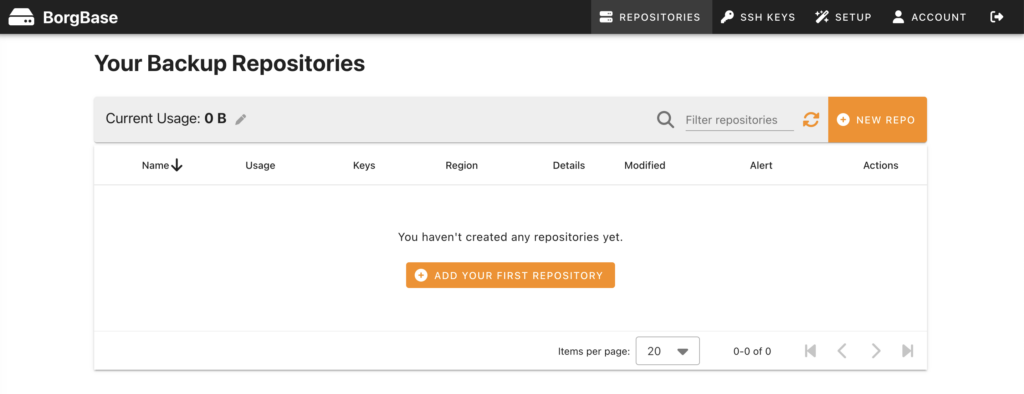
    Sign up and receive 10 GB and 2 repositories for free forever. No credit card required. Just a place to keep your backups.

    https://www.borgbase.com

    After setting up your free account it looks sth. like this.

    BorgBase welcome screen

    Before you may add a repository, you have to add a ssh key, first. BorgBase makes it very easy to add a key and guides you all the way. Here’s how I created my key.

    ssh-keygen -t ed25519 -C "<EMAIL>" -f ~/.ssh/id_ed25519_borgbase

    Please replace <EMAIL> with your own mail address. The above will generate a new key and place it under .ssh in your home folder under the name of id_ed25519_borgbase. In addition it will generate a corresponding public key. This is what you must provide BorgBase with in order to create and access a repository. Type the following to access it from your terminal:
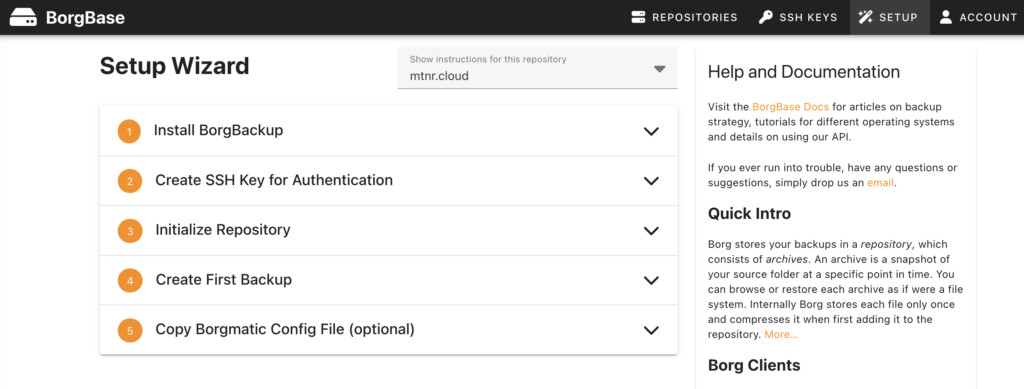
    cat ~/.ssh/id_ed25519_borgbase.pub

    After setting up your repository you will be presented with a wizard to set up your server for communicating with it.

    BorgBase Setup Wizard

    Now it’s time to edit the borgmatic config file from earlier. It’s pretty self explanitory.

    I’m including everything under /etc, my home folder as well as the Docker volume for this blog.

    source_directories:
      - /etc
      - /home/<USER>
      - /var/lib/docker/volumes/<VOLUME_NAME>

    There is a detailed explanation on how to include database dumps in your backups available at https://torsion.org/borgmatic/docs/how-to/backup-your-databases/.

    I added the following snippet to my config.

    mariadb_databases:
      - name: <DB_NAME>
        hostname: 127.0.0.1
        port: 3306
        username: <USER>
        password: <PASSWORD>

    After your done, you may validate your config with the following command.

    sudo borgmatic config validate

    The last thing to do is initializing the repository.

    sudo borgmatic init --encryption repokey

    Test your setup

    Before editing your crontab, it makes sense to test your setup manually.

    sudo borgmatic create --verbosity 1 --list --stats

    If everything works as expected, you should add a call to borgmatic to the root user’s crontab.

    sudo crontab -e

    Conclusion

    And now you can lie back and relax. Depending on your crontab settings your incremental backups will be created automatically and will be securely encrypted stored off site.

    Nice!

  • Get your backups to safety with rsnapshot

    In this article we learned how to backup Docker volumes. However, storing them on the same machine won’t do us any good should, for example, the harddrive fail.

    rsnapshot to the rescue.

    I run rsnsapshot as a Docker container from my home server and have set up a ssh source in the rsnapshot config file which I fetch on a regular basis via the following cron job:

    docker exec rsnapshot rsnapshot alpha

    That’s it.

  • How to backup your Docker volumes

    I’m running this blog from a Docker container behind a reverse proxy.

    That being said, I’m using volumes to persist my container data. Backing these up requires a bit more work than simply copying files from a to b.

    Backup commands using temporary containers

    In order to create a backup from a volume, I’m using the following command:

    sudo docker run --rm \
      --volumes-from <CONTAINER_NAME> \
      -v ~/backups:/backups \
      ubuntu \
      tar cvzf /backups/backup.tar.gz /var/www/html

    That might be alot. Let’s break it down.

    1. sudo docker run will start a new container as root. In this case from the ubuntu image (i.e., the image name provided in line 4).
    2. --volumes-from will mount all volumes from the given container name. Of course, you’ll have to replace the placeholder with the name of your container.
    3. -v ~/backups:/backups will mount the backups folder located in your home directory to a /backups folder in the container we’re starting. We will use this to store the backups we’re about to create.
    4. ubuntu being the image we’re using to start our disposable backup container.
    5. Finally there is the actual command to backup the files we want from the WordPress container which are available from the /var/www/html directory. We tar (create an archive containing all files from the given directory) and zip (compress) them with tar cvzf /backups/backup.tar.gz /var/www/html (create verbose zip file).

    Once we execute the command all the files from the /var/www/html directory from within our WordPress container will end up in ~/backups/backup.tar.gz and the backup container we just fired will be removed automatically once the tar command has finished.

    I will issue a second command just like the above to backup the corresponding MySQL database container.

    sudo docker run --rm \
      --volumes-from <CONTAINER_NAME> \
      -v ~/backups:/backups \
      ubuntu \
      tar cvzf /backups/backup-db.tar.gz /var/lib/mysql

    We’ve created two zip files in our backup folder. One for the files and one for the database of our WordPress instance.

    Let’s build on that.

    Automating your backups

    Since it would be a bit tedious to fully type out the same commands each time we want to backup our data, let’s automate the process.

    As a first step I add all the backup commands for the volumes I want to backup into a script.

    #!/bin/bash
    docker run --rm \
      --volumes-from <CONTAINER_NAME> \
      -v ~/backups:/backups \
      ubuntu \
      tar cvzf /backups/backup.tar.gz /var/www/html
    
    docker run --rm \
      --volumes-from <CONTAINER_NAME> \
      -v ~/backups:/backups \
      ubuntu \
      tar cvzf /backups/backup-db.tar.gz /var/lib/mysql

    If I run that script as the non-root user, I’ll run into the following error.

    docker: permission denied while trying to connect to the Docker daemon socket at unix:///var/run/docker.sock: Head "http://%2Fvar%2Frun%2Fdocker.sock/_ping": dial unix /var/run/docker.sock: connect: permission denied.

    What’s going on? Well, as you may have noticed, I omitted the sudo command from the docker commands because I plan to call this script from a cron job where I won’t be able to input my password. However the docker command needs root access since Docker is not a rootless installation in this instance.

    Let’s tie it all together and add the script to the root user’s cron jobs.

    sudo crontab -e

    Assuming your script resides in a script folder below your home folder, add the following and save.

    0 1 * * * ~/scripts/backup.sh

    This will execute the script with root privileges each night at 1 o’clock in the night.

    However, the backup files will belong to the root user. Let’s remedy that.

    File permissions

    Add the following line to your backup script at the end.

    chown $(id -u -n):$(id -g -n) ~/backups/*

    This will assign ownership and group of all backups to your user.

    Summary

    We’ve automated daily backups of our Docker volumes using shell scripts and cron jobs. Neat. Let me know what you think.

    Oh, and please check these articles for further reading: