-o will use OpenSSH format for the new keys -a specifies the number (amount) of key derivation rounds (KDF) -t specifies the type; in this case Ed25519 -C adds an optional comment that helps with identifying the key
Using the new keys
Now, simply add the public key to the authorized keys of the machine you would like to login to. In order to retrieve the public key, use the following command and copy & paste the output of said command.
cat ~/.ssh/id_ed25519.pub
Sprinkle a bit of convenience on top
Now if you’re like me and are using a Mac, you may use the Keychain to store your password, so you don’t have to always type it out when logging in to your server via ssh.
Now, when calling ssh mtnr, I can ssh into my server without specifying anything extra like e.g. which pair of keys to use for authentication and, I only have to type out the password once. All subsequent attempts will use the password stored in my Keychain.
1. Backing up the database’s internal file storage
Generally speaking, it’s bad practice to backup a database’s internal file storage as it could change mid-backup. A better approach would be to create a database dump which will result in a consistent snapshot.
2. Backing up volumes in archives
With the current approach of creating compressed tars of the Docker volumes, each time a full backup will be created. This uses up more space than necessary.
Borg to the rescue
Borg is an easy to use deduplicating archiver that comes with compression and encryption out of the box.
At this point we could go ahead and set up a (remote) repository and start backing up our data which would result in smaller backups than the previously used tar archives.
However, we still need a way to automatically backup the database as well as a convenient way to automate or backups.
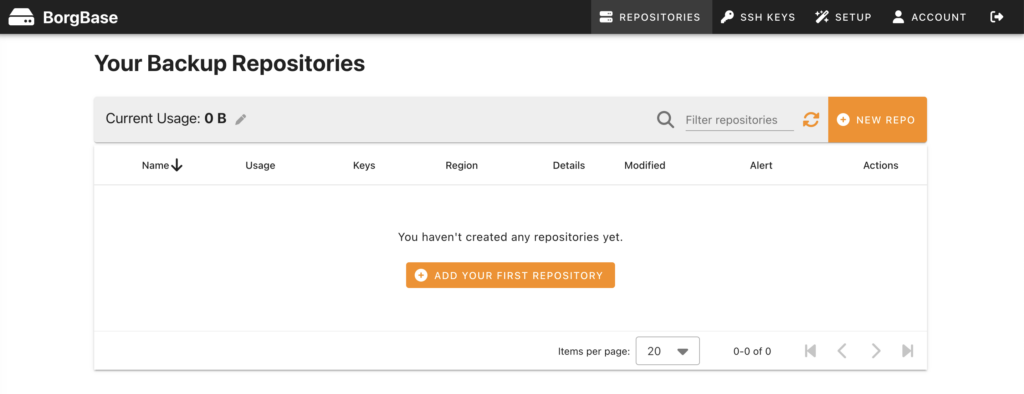
After setting up your free account it looks sth. like this.
Before you may add a repository, you have to add a ssh key, first. BorgBase makes it very easy to add a key and guides you all the way. Here’s how I created my key.
Please replace <EMAIL> with your own mail address. The above will generate a new key and place it under .ssh in your home folder under the name of id_ed25519_borgbase. In addition it will generate a corresponding public key. This is what you must provide BorgBase with in order to create and access a repository. Type the following to access it from your terminal:
cat ~/.ssh/id_ed25519_borgbase.pub
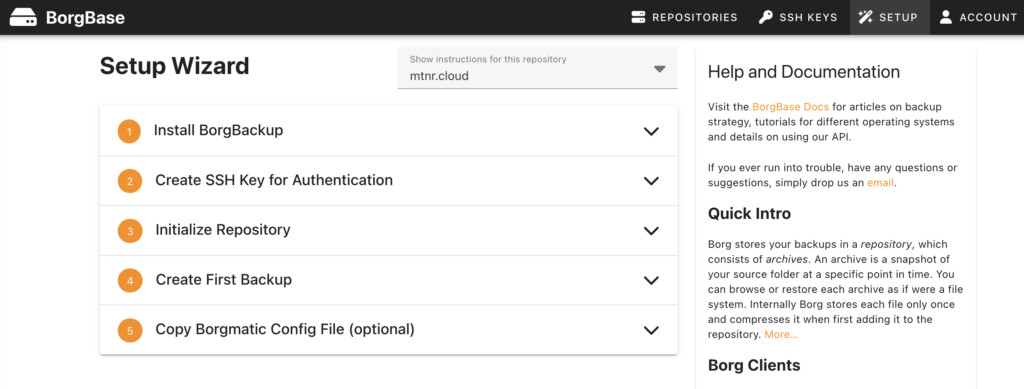
After setting up your repository you will be presented with a wizard to set up your server for communicating with it.
Now it’s time to edit the borgmatic config file from earlier. It’s pretty self explanitory.
I’m including everything under /etc, my home folder as well as the Docker volume for this blog.
If everything works as expected, you should add a call to borgmatic to the root user’s crontab.
sudo crontab -e
Conclusion
And now you can lie back and relax. Depending on your crontab settings your incremental backups will be created automatically and will be securely encrypted stored off site.
You may list all available timezones via the following command:
timedatectl list-timezones
To update the timezone of your machine use
sudo timedatectl set-timezone Europe/Berlin
After this the current settings can be inspected like so:
timedatectl
               Local time: Sat 2024-06-01 12:46:55 CEST
           Universal time: Sat 2024-06-01 10:46:55 UTC
                 RTC time: Sat 2024-06-01 10:46:55
                Time zone: Europe/Berlin (CEST, +0200)
System clock synchronized: yes
              NTP service: active
          RTC in local TZ: no
If, for some reason, no default administrative user was created during the server installation process, the first thing I do is to create a personal user and deactivate the root user, if necessary.
Usually, a pristine Ubuntu installation comes with a default user that was added to the group of sudoers.
However, when acquring a server with my current hoster, root was equipped with a public key for accessing the server via SSH after the setup was completed.
So the first order of business after logging in as root was to create a new user as follows:
adduser <USERNAME>
Replace <USERNAME> with the name of the user (i.e., in my case timo) and follow the onscreen instructions.
In order to enable the user to install software and allow for other maintanance tasks, add it to the group of sudoers with the following command as root:
usermod -aG sudo <USERNAME>
When you are already logged on as another sudo user, you may issue the same command prefixed with sudo.
And that’s all there is to it. Now you can login with your new account and use the sudo command when you must perform maintance or other administrative tasks like installing software for example.
For more details on usermanagement (e.g., how to disable the root user) I highly reccomend the official documentation on the matter.
Manage Consent
To provide the best experiences, we use technologies like cookies to store and/or access device information. Consenting to these technologies will allow us to process data such as browsing behavior or unique IDs on this site. Not consenting or withdrawing consent, may adversely affect certain features and functions.
Functional
Always active
The technical storage or access is strictly necessary for the legitimate purpose of enabling the use of a specific service explicitly requested by the subscriber or user, or for the sole purpose of carrying out the transmission of a communication over an electronic communications network.
Preferences
The technical storage or access is necessary for the legitimate purpose of storing preferences that are not requested by the subscriber or user.
Statistics
The technical storage or access that is used exclusively for statistical purposes.The technical storage or access that is used exclusively for anonymous statistical purposes. Without a subpoena, voluntary compliance on the part of your Internet Service Provider, or additional records from a third party, information stored or retrieved for this purpose alone cannot usually be used to identify you.
Marketing
The technical storage or access is required to create user profiles to send advertising, or to track the user on a website or across several websites for similar marketing purposes.